This blogpost was made by me (Nayana) but taken from our editor, Timo’s blogpost
To begin, I opted for Adobe Premiere Pro CC 2020, a timeline-based and non-linear video editing software application, as my primary tool for video editing due to its comprehensive features and interface I was already familiar with as I have used it for over 3 years. After each day of filming, I established a habit of managing my files by transferring the necessary clips and images from the SD card to my desktop, ensuring a streamlined editing workflow. Once imported into Premiere Pro, I filtered the shots, eliminating any footage deemed irrelevant. The software's intuitive design facilitated the synchronization of clips, with the marking feature being very useful. This feature allowed me to label specific points in the timeline, enhancing precision and efficiency in the editing process.
Shown below is the overall timeline of the project:
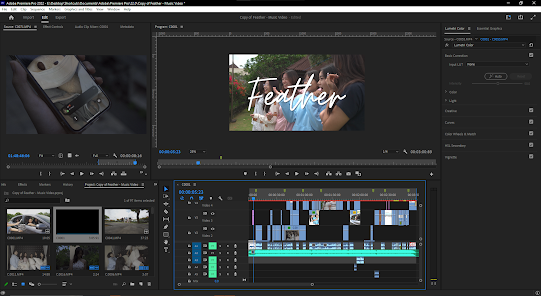
As seen in the image above, the use of markers proved to be very useful. Since I am editing a music video for the first time, the process of doing so requires a new step that was previously foreign to me. Before importing any clip into the timeline for an edit, I needed to sync the scene to the music. This is because a slight delay would be very obvious, especially in scenes where there is a close-up of an actor lipsyncing to the camera, a slight delay of a few seconds would make the product look ugly and unprofessional, which is why I had to be very detailed when syncing clip audios to the song. However, during our filming process, we had a clapboard which made it easier to sync clips, because the audio in the timeline would have a spike because of the loud sounds, giving me a guide on where to cut the clip. An example of this is shown in the image below:
SIGNIFICANT EDITING CHOICES AND METHODS
Colour Grading (Lumetri Color)
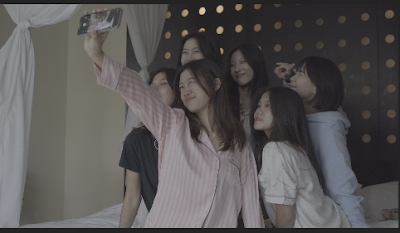 |
before colour grade
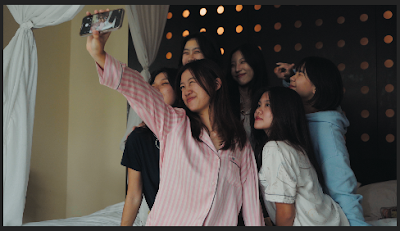 | | after colour grade |
|
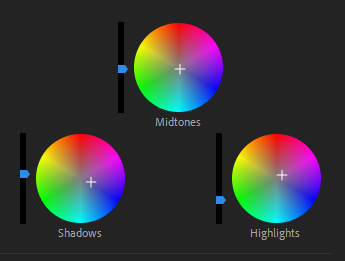 |
color wheels in premiere pro
|
Knowing that we have a theme and color scheme to follow, I saw that the raw clips were far from the right color to portray what we wanted, with this, I spent hours colour grading the clips to find the perfect balance between warmth, saturation, and exposure we wanted. I believe that the colour grade I created portrays the perfect amount of warmth that is felt when friends get together, just like the scene depicts.
Speed Ramping (Time Remapping)
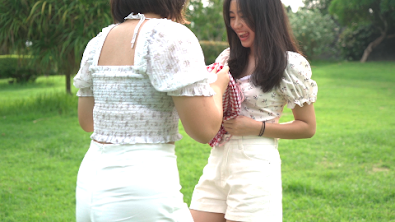 |
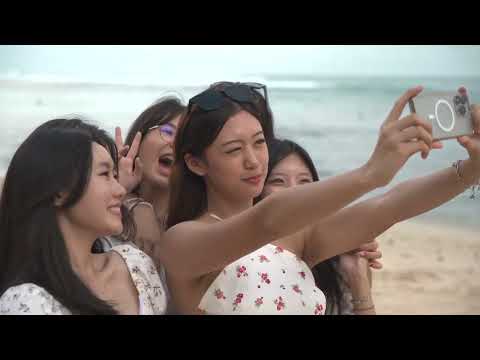
| example of a clip that uses speed ramping (2:43-2:47) |
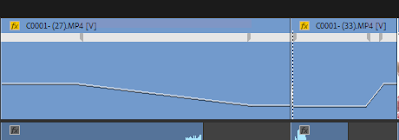 |
| speed ramping keyframes |
Speed ramping is a technique of smoothly transitioning between different playback speeds within a single clip or sequence. This allows for dynamic changes in speed, creating visual interest and emphasizing specific moments in a video. This method of editing was done in three steps; in the timeline, position the playhead where you want the speed change to begin. Set a keyframe for the Speed/Duration option in the Effects Control Panel. Move the playhead to where you want the speed change to end and set another keyframe. Then, change the speed value between the keyframes to the desired speed. You can then adjust the bezier handles on the keyframes to control the easing in and out for a more gradual speed change. Overall, the use of speed ramping was very useful in creating emphasis, and adding drama to a simple action. In the clip above, the girls are seen to be opening a picnic blanket, with speed ramping, a simple action can become very visually pleasing.
Jump Cuts
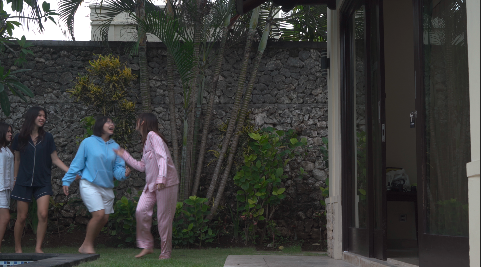 |
| scene that uses jumpcuts (1:12-1:18) |
 |
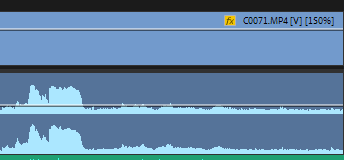
| jumpcuts in timeline |
In this music video, jump cuts are utilized to adjust their actions to the pacing of the music. By identifying static points in the footage where minimal changes in framing or camera position occur. I used the razor tool to cut the clips at these jump-cut points and arrange the remaining sections consecutively on the timeline.
Reflection: The features of our editing software helped us so much in enhancing our editing and product itself especially when we finished our shoot quite near to our deadline. This also allow him to experiment and explore to see which editing suits the best with our concept and liking. The color grading feature was also really useful as most of our scenes were shot in a weather that wasn't too vibrant and lively.

.png)
No comments:
Post a Comment